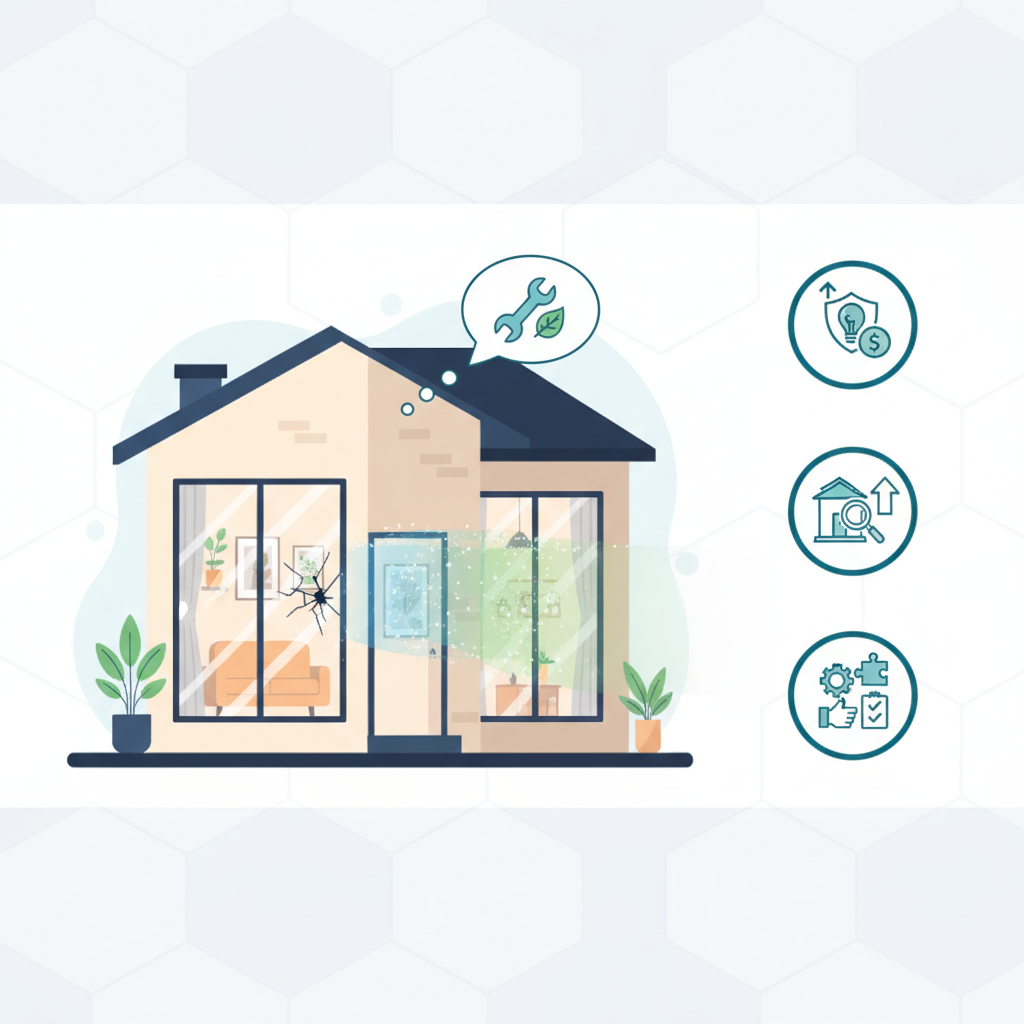
Best Home Window Glass Replacement Tips for Every Homeowner
In the realm of home maintenance, "Home Window Glass Replacement" is often an overlooked yet critical task that can significantly enhance the aesthetic and energy efficiency of a home. According to renowned home improvement expert, John Smith, "Replacing old or damaged window glass not only revitalizes the look of your home but also serves as a valuable investment in energy savings." Homeowners frequently underestimate the importance of ensuring that their windows are in optimal condition, as this can lead to higher energy costs and decreased comfort levels.
As we delve into the best tips for "Home Window Glass Replacement," it is essential to understand both the practical and aesthetic considerations involved. From choosing the right type of glass to understanding the installation process, these insights will provide homeowners with a comprehensive guide to achieving flawless results. By prioritizing window glass replacement, homeowners can safeguard their properties against the elements while simultaneously increasing their home's curb appeal. This article aims to empower homeowners with the knowledge and confidence needed to tackle this vital home improvement project.
Essential Tools for Home Window Glass Replacement
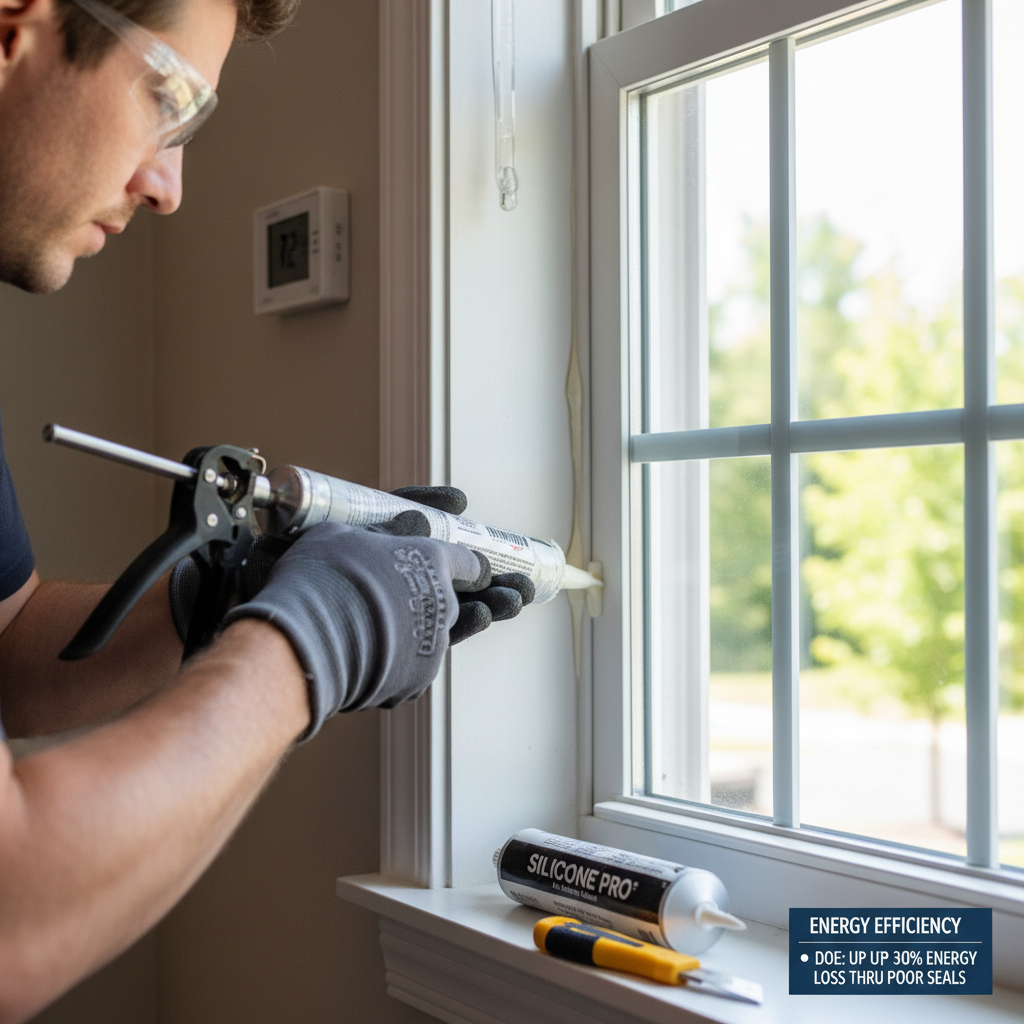
When it comes to replacing home window glass, having the right tools is crucial for a successful and safe installation. Start with a sturdy set of safety goggles and gloves to protect yourself from sharp edges and glass shards. A utility knife is essential for removing old caulking and loosening the glass. A glass cutter can be used to score new glass for a precise fit, while a suction cup tool makes handling larger pieces safer and easier during installation.
Additionally, a reliable measuring tape ensures you accurately measure the dimensions of your window frame, avoiding costly mistakes. A putty knife is useful for applying new glazing compound or caulk, ensuring a weather-tight seal around the edges. Lastly, a hammer and a set of small nails or glazing points can help secure the new glass in place, making your installation not only efficient but also durable. With these essential tools ready, homeowners can tackle window glass replacement with confidence.
Related Posts
-

How to Choose the Right Glass for Your Home Window Replacement
-

How Hurricane Windows Enhance Home Safety: Exploring Impact Resistance Ratings and Energy Efficiency Standards
-

Exploring the Advantages of Choosing the Best Commercial Glass Doors for Your Business
-

Envisioning Resilience: The Future of Best Hurricane Windows in Modern Architecture
-

Ultimate Guide to Choosing Hurricane Windows and Doors for Maximum Home Protection
-

2025 Tech Innovations in Commercial Glass Doors: How to Optimize Your Procurement Strategy